 Tampa Window
 Why Davis Islands Siding Takes a Different Kind of Beating
Davis Islands sits close to the water on a peninsula just off downtown Tampa, and that location shapes everything about how siding ages there. Homes on the islands are exposed to salt-laden air moving off Hillsborough Bay almost constantly, along with the same intense, near year-round Florida UV load and wind-driven rain that the rest of the Tampa Bay area deals with. Add in the direct exposure to hurricane-force winds during storm season, and you have a combination of stressors that works siding harder than it would in an inland neighborhood just a few miles away.
Salt air is the piece that catches a lot of homeowners off guard. It doesn't just sit on the surface — it works into fastener heads, trim seams, and any place where a coating has thinned or a joint has opened up, accelerating corrosion and finish breakdown in ways that show up faster near the water than they do further inland. Combine that with UV exposure that never really lets up and rain that gets driven sideways into wall assemblies during storms, and siding on Davis Islands is simply carrying a heavier load, year after year, than siding in most of the country ever has to.
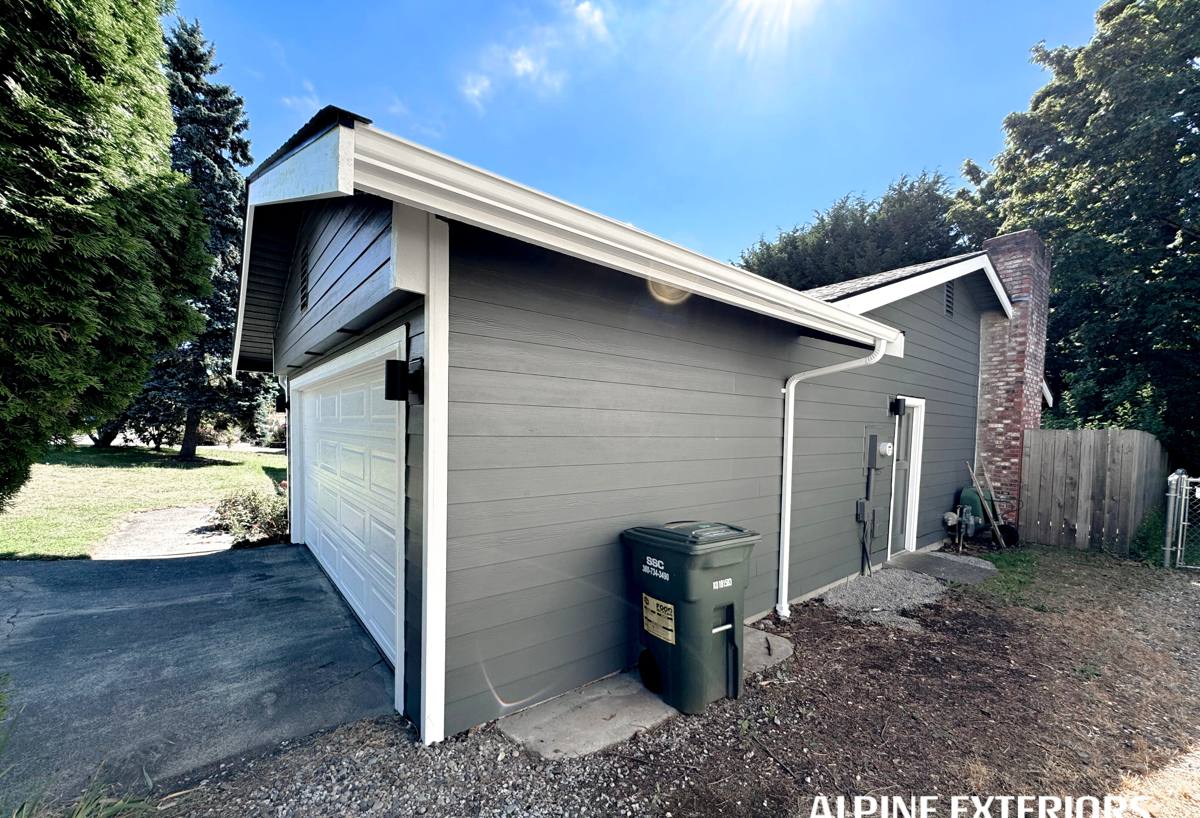
What "Siding Repair" Actually Covers
Siding repair is a broad term, and it's worth being specific about what falls under it, because the right fix depends entirely on what's actually wrong.
- Impact damage — cracked or dented boards from storm debris, falling branches, or accidental impact
- Moisture-related failure — swelling, soft spots, or delamination where water has gotten behind or into the siding
- Fastener and seam issues — nails backing out, gaps opening at butt joints, or trim pulling away from the wall
- Finish failure — chalking, fading, or peeling paint that's exposing the substrate underneath
- Localized rot or deterioration — usually concentrated near ground contact, roof lines, or areas with poor drainage
Each of these has a different root cause, and treating the symptom without understanding the cause is how a repair ends up needing to be redone in two years instead of holding for twenty.
Storm and Wind Damage Is Its Own Category
Because Davis Islands takes direct wind exposure during tropical systems, storm-related siding damage is common here in a way it isn't in more sheltered inland neighborhoods. Wind can lift boards at the bottom edge, drive rain up and under laps that are designed to shed water downward, and fling debris hard enough to crack or puncture siding outright. After a storm, damage isn't always obvious from the ground — a lifted board or a small crack near a corner can let water in for months before it shows up as a stain or soft spot on the interior wall.
Signs Your Siding Needs a Professional Look
Most siding problems give some warning before they become serious. Knowing what to watch for on a Davis Islands home means paying particular attention to the signs that point to moisture intrusion or salt-accelerated wear, since those tend to progress faster near the water.
- Visible cracks, holes, or chips in individual boards
- Boards that feel soft, spongy, or flex when pressed
- Gaps opening at seams, corners, or where siding meets trim
- Paint that's chalking heavily, peeling, or bubbling
- Streaking or dark staining that keeps coming back after cleaning
- Corroded or rust-stained fasteners
- Musty odors or visible mold near exterior walls on the inside of the home
- Siding that's visibly warped, buckled, or pulling away from the wall
Any one of these on its own might be minor. Several showing up in the same area of the house usually means water has been getting in for a while, and the repair needs to address the underlying entry point, not just the visible symptom.
Repair or Replace: How We Make That Call
Not every damaged section needs a full re-side, and not every problem can be fixed with a patch. The honest answer depends on how much of the wall assembly is affected and whether the damage is isolated or systemic.
| Situation | Typical Approach | Why |
|---|---|---|
| One or two cracked/impact-damaged boards | Cut out and replace affected boards | Localized damage with sound siding and structure around it |
| Damage concentrated at a corner, roofline, or trim junction | Repair the section, inspect and correct the flashing or seam detail causing it | Fixing the board without fixing the water path just delays the next repair |
| Widespread finish failure across large wall areas | Case-by-case — refinish vs. board replacement depending on substrate condition | Chalking and fading alone don't always mean the board has failed structurally |
| Rot or soft boards in multiple areas, especially lower walls | Broader replacement of the affected elevation | Moisture damage that's spread this far usually means the underlying wrap or flashing has failed too |
| Siding is old, brittle, or a discontinued product with no matching replacement | Full re-side often makes more sense than patchwork repair | Mismatched patches on failing material rarely look right or hold up as well |
We'll always tell you plainly which category your situation falls into. A repair that's going to fail again in a year isn't a favor to anyone, and a full re-side isn't the right call when a section replacement will genuinely hold.
What a Correct Repair Actually Involves
A siding repair that's done right isn't just swapping a damaged board for a new one. It starts with figuring out why that board failed in the first place.
Diagnosis Before Demolition
Before we remove anything, we look at the water path — where rain is landing, how it's shedding, and whether flashing, kick-out details, or seams nearby are doing their job. On a house this close to the bay, we're also checking fastener condition and looking for salt-related corrosion at trim and hardware, since that's often the first thing to give out.
Removing Only What Needs to Come Out
We remove the damaged material and enough of the surrounding area to properly inspect the water-resistive barrier and framing underneath. If there's hidden rot or moisture damage to sheathing, that gets addressed before any new siding goes back on — covering over a wet substrate with new boards just hides the problem for a while.
Matching Material and Installation Detail
New boards need to match the existing reveal, profile, and fastening pattern so the repair is structurally sound and doesn't stand out. Laps, seams, and butt joints get sealed and flashed correctly, following the same manufacturer specifications that govern a full installation — repair work doesn't get a lower standard just because it's a smaller section of wall.
Finish and Fastening
Fasteners are corrosion-resistant and set correctly — not overdriven, not underdriven — and any factory finish is matched as closely as possible. Where boards are painted rather than factory-finished, we use products and application methods suited to the intense UV and salt exposure this location sees.
Why We Only Work With James Hardie Fiber Cement
When we're doing repair work — especially section replacement — the material matters as much as the workmanship. This company installs James Hardie fiber cement siding exclusively. We don't install vinyl, LP SmartSide, Cemplank, Allura, or primed wood products, and that's a deliberate standard, not an oversight.
Fiber cement is non-combustible and holds up to the moisture, UV, and wind exposure that Davis Islands sees better than the alternatives we've chosen not to carry. James Hardie's ColorPlus factory-applied finish is baked on and engineered to resist fading and chalking under sun exposure far more consistently than field-applied paint, which matters enormously in a location that gets this much direct sun year-round. Hardie also builds region-specific HZ product lines engineered for humid, high-moisture climates like ours — that's a real engineering difference, not marketing language. And Hardie's siding carries a strong transferable warranty when installed to spec, which gives homeowners real protection, not just a manufacturer's suggestion.
When we do repair or replacement work on a Hardie-sided home, we can match the existing product line closely. When we're replacing damaged sections of a different material with Hardie board, we'll walk you through what that transition looks like and set expectations honestly about matching and blending.
Our Repair Process, Start to Finish
- On-site inspection — we walk the exterior, identify every area of concern, and check for moisture intrusion beyond what's visible
- Honest diagnosis — we explain what's actually wrong, what caused it, and whether it's a localized repair or something broader
- Written scope and estimate — no surprises; you know what's being done and why before work starts
- Careful removal — only the affected material comes out, with the surrounding area protected
- Substrate check — sheathing and water-resistive barrier are inspected and repaired if needed before new siding goes on
- Correct reinstallation — matched material, proper flashing, sealed seams, correctly set fasteners
- Final walkthrough — we review the completed work with you and point out anything worth keeping an eye on going forward
Why a Crew That Already Works Davis Islands Matters
Siding repair on a barrier-adjacent, salt-exposed property isn't identical to siding work five or ten miles inland. A crew that regularly works Davis Islands and similar Tampa Bay waterfront neighborhoods has already seen how fast corrosion sets in on exposed fasteners here, how differently UV exposure treats a west-facing wall on the water versus a shaded inland elevation, and which flashing and seam details actually hold up against wind-driven rain during a real tropical system rather than just a normal afternoon shower.
That local experience shows up in small decisions — which fastener spec to use, how much clearance to leave at grade, how to detail a corner that takes direct wind — that don't show up in a generic repair estimate but make the difference between a fix that lasts and one that doesn't.
Working on an Island Community
Access, parking, and scheduling around a residential island community also take some familiarity to navigate smoothly. A crew that's done work here before isn't figuring that out for the first time on your project, which keeps the job efficient and minimizes disruption to your property and your neighbors.
After the Repair: Keeping Salt and UV From Winning the Rematch
A correct repair buys you years, but a little ongoing attention protects that investment, especially this close to the bay.
- Rinse siding periodically to clear accumulated salt residue, particularly on elevations facing the water
- Keep gutters and downspouts clear so water isn't pooling or overflowing against walls
- Trim back vegetation and irrigation spray that keeps siding damp longer than it should be
- Have fastener heads and trim checked periodically for early corrosion, especially after storm season
- Address small cracks or gaps promptly — they're far cheaper to fix before they let water in
Cost Factors Worth Understanding
| Factor | How It Affects the Job |
|---|---|
| Extent of damage | A few boards costs far less than an elevation with widespread rot or finish failure |
| Hidden moisture damage | Sheathing or framing repair adds cost but is not optional if found |
| Material matching | Matching an existing profile or discontinued product can add time and cost versus a straightforward replacement |
| Access and height | Second-story or hard-to-access walls take more time and equipment |
| Root-cause corrections | Fixing flashing, seams, or drainage issues alongside the board repair prevents a repeat call, and is worth the added scope |
If you're seeing cracked boards, opening seams, or finish failure on a Davis Islands home, it's worth having someone look at it before the next storm season rather than after. We offer free, no-pressure estimates — we'll walk the property, tell you honestly what we see, and lay out what a correct repair actually involves before any work begins. The form below is the easiest way to get started.