 Tampa Window
 Why Window Replacement Looks Different in Tampa
Replacing windows in Hillsborough County isn't quite the same job as it is in a milder climate. Between hurricane-force wind events, sun exposure that runs close to year-round, wind-driven rain that finds every gap in a poor installation, and salt air drifting in off Tampa Bay, a window here has to earn its keep in ways a window in, say, Ohio never has to. That doesn't mean the process is complicated or mysterious — it just means a few steps in the process matter more here than they would elsewhere, and it helps to know what those are before crews show up at your house.
This guide walks through the replacement process in order, from the first measurement to the final walkthrough, so you know what a proper job looks like and what to expect at each stage.
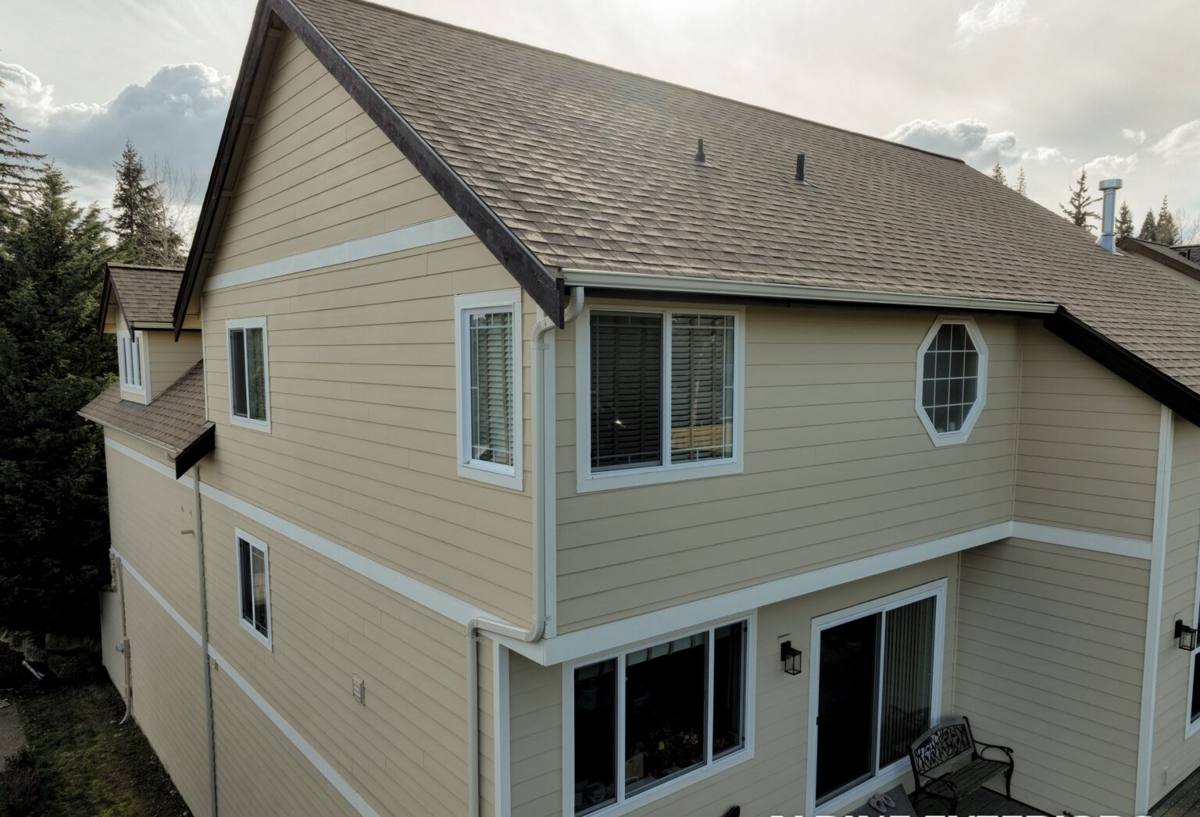
Step 1: The Initial Assessment and Measurement
A good window job starts before anyone touches a frame. A contractor should walk the exterior and interior of the home, note the condition of the existing framing and stucco or siding around each opening, and check for signs of past water intrusion — soft wood, staining, or bubbling paint near the sill. This matters more in Tampa than in drier climates, because a window that's been leaking for years can leave hidden rot in the framing that needs to be addressed before a new window ever goes in.
Measurements are taken opening by opening, since older Florida homes rarely have perfectly square or identical window openings, especially after decades of settling and humidity swings. Each opening gets measured for width, height, and depth, and the contractor should also note which direction the window faces — south- and west-facing openings take the brunt of Florida's UV exposure and afternoon storms, which can factor into glass and frame recommendations.
What to Have Ready
- A general sense of your budget range and priorities (energy efficiency, storm protection, noise reduction, appearance)
- Any known history of leaks, drafts, or fogging between panes
- Clear access to each window from both inside and outside the home
- Questions about your HOA's rules, if you have one, on window appearance or color
Step 2: Choosing Glass and Frame Materials for Coastal Wind Exposure
This is where most of the real decision-making happens, and it's worth slowing down here. Hillsborough County sits in a wind-borne debris region under the Florida Building Code, which means replacement windows generally need to meet minimum wind pressure and impact standards even outside the state's High-Velocity Hurricane Zone (that stricter zone covers Miami-Dade and Broward, not Tampa). Your contractor should be able to tell you exactly what's required for your specific address and structure type.
Frame material affects how a window holds up to salt air, UV, and repeated wet-dry cycles over the years. Here's a general comparison of the most common options used in this region:
| Frame Material | UV / Sun Performance | Salt Air Resistance | Maintenance | General Cost Tier |
|---|---|---|---|---|
| Vinyl | Good with UV-stabilized formulations; lower-grade vinyl can yellow or warp over time | Strong — won't corrode | Low; occasional cleaning | Lower to mid |
| Aluminum | Very good; doesn't degrade from sun | Prone to pitting/corrosion near the coast unless properly coated | Moderate; coatings need upkeep | Mid |
| Fiberglass | Excellent; very stable in heat and sun | Strong — won't corrode or rot | Low | Mid to higher |
| Wood (clad) | Fair; interior wood needs protection from sun and moisture | Weaker unless well-clad and maintained | Higher; periodic sealing/painting | Higher |
Glass matters just as much as frame material. Most homeowners in this area choose either impact-resistant laminated glass or standard insulated glass paired with separate storm protection (shutters or panels). Impact glass costs more up front but eliminates the need to install shutters before every storm, and it typically includes a Low-E coating that cuts down on the heat gain that drives up cooling bills through a Tampa summer. We'll walk you through both approaches honestly, including the trade-offs, rather than pushing one option because it's easier to sell.
Step 3: Permitting and Wind-Load Requirements
Window replacement in Hillsborough County almost always requires a building permit, and for good reason — it's the mechanism that confirms the windows going into your home actually meet the wind pressure rating required for your address. A licensed contractor pulls the permit, and the job gets inspected before it's considered complete. Be cautious of anyone who suggests skipping the permit to save time or money; unpermitted work can create real problems at resale and, more importantly, means nobody has verified the windows can actually handle a wind event.
Permit turnaround varies depending on the county's current workload, and it's worth building that time into your expectations rather than assuming installation can happen the week after you sign a contract.
Step 4: Removal and Installation Day
On installation day, the crew works opening by opening rather than removing every old window at once, which keeps your home secure and weather-protected throughout the process. The old window and any damaged framing material are removed, and the opening is inspected again now that it's fully exposed — this is sometimes when hidden wood rot or old, improperly installed flashing gets found and needs to be corrected before the new unit goes in.
The new window is set, shimmed level and square, and mechanically fastened according to the manufacturer's installation instructions and the wind rating the permit calls for. This is a step where shortcuts genuinely show up later as leaks or failures, so it's worth asking your contractor directly how they fasten and seal each unit.
What a Typical Installation Day Looks Like
- Furniture and window treatments moved back from the work area (usually handled by the homeowner beforehand)
- Old windows removed and hauled away for disposal
- Openings inspected and any damaged framing repaired
- New windows set, leveled, and fastened per manufacturer specs
- Flashing and sealants applied around each opening
- Interior and exterior trim reinstalled or finished
- Daily cleanup of debris and materials
Step 5: Flashing, Sealing, and Weatherproofing Details
This is the step that separates a window installation that lasts fifteen-plus years from one that starts leaking within a couple of seasons, and it's almost entirely invisible once the job is done. Proper flashing directs any water that gets past the exterior finish down and away from the framing, rather than letting it pool at the sill. In a climate with as much wind-driven rain as Tampa gets, water doesn't just fall straight down onto a window — it gets pushed sideways and upward under pressure, which means gaps that would be harmless in a calmer climate become real leak points here.
Sealants matter too. Not every caulk or sealant is rated for the constant UV exposure and temperature swings of a Florida exterior, and using the wrong product is one of the most common reasons a seal fails within a year or two. A contractor who takes this region seriously should be using sealants rated for exterior, high-UV use, and should tool every joint cleanly rather than just running a bead and moving on.
Step 6: Inspection, Cleanup, and Final Walkthrough
Once the permitted work is complete, the county building inspector reviews the installation to confirm it meets code — this is a separate check from your own final walkthrough and it protects you as the homeowner. After that, your contractor should walk the property with you, operate every window to confirm smooth function, check that locks engage properly, and review any warranty paperwork for both the product and the labor.
Cleanup should include removal of all old windows, packaging, and debris, and a check that no caulk or sealant residue was left on your siding, stucco, or glass.
Living With New Windows: Maintenance in Salt Air and Year-Round Sun
New windows in this region still need a bit of ongoing attention, especially if your home is closer to the bay or the Gulf where salt air is more concentrated. A simple rinse of frames and hardware every few months helps prevent salt buildup from affecting hardware and finishes over time. It's also worth doing a quick visual check of exterior caulk lines once or twice a year, particularly after a rough storm season, since sealant is the first line of defense and the easiest thing to touch up before a small gap becomes a real leak.
If you chose impact glass, there's genuinely less to manage — no shutters to install and remove before every storm watch, and no scrambling when a storm forms with only a few days' notice.
Timeline and What Can Cause Delays
From signed contract to finished installation, most whole-home window replacement projects in this area run several weeks to a couple of months, with permitting and product lead time being the biggest variables. Custom sizes, higher-demand wind ratings, and busy seasons ahead of hurricane season can all stretch that timeline. A contractor who gives you a realistic range up front, rather than an unrealistically short promise, is usually being straight with you about how the process actually works.
If you're weighing options for your own home in Tampa or elsewhere in Hillsborough County, we're happy to walk your property, answer questions honestly, and put together a free, no-pressure estimate using the form below.